We are a brand which has been born into mother nature. It's time to create a new feeling.
What is Hydro dipping - The Process
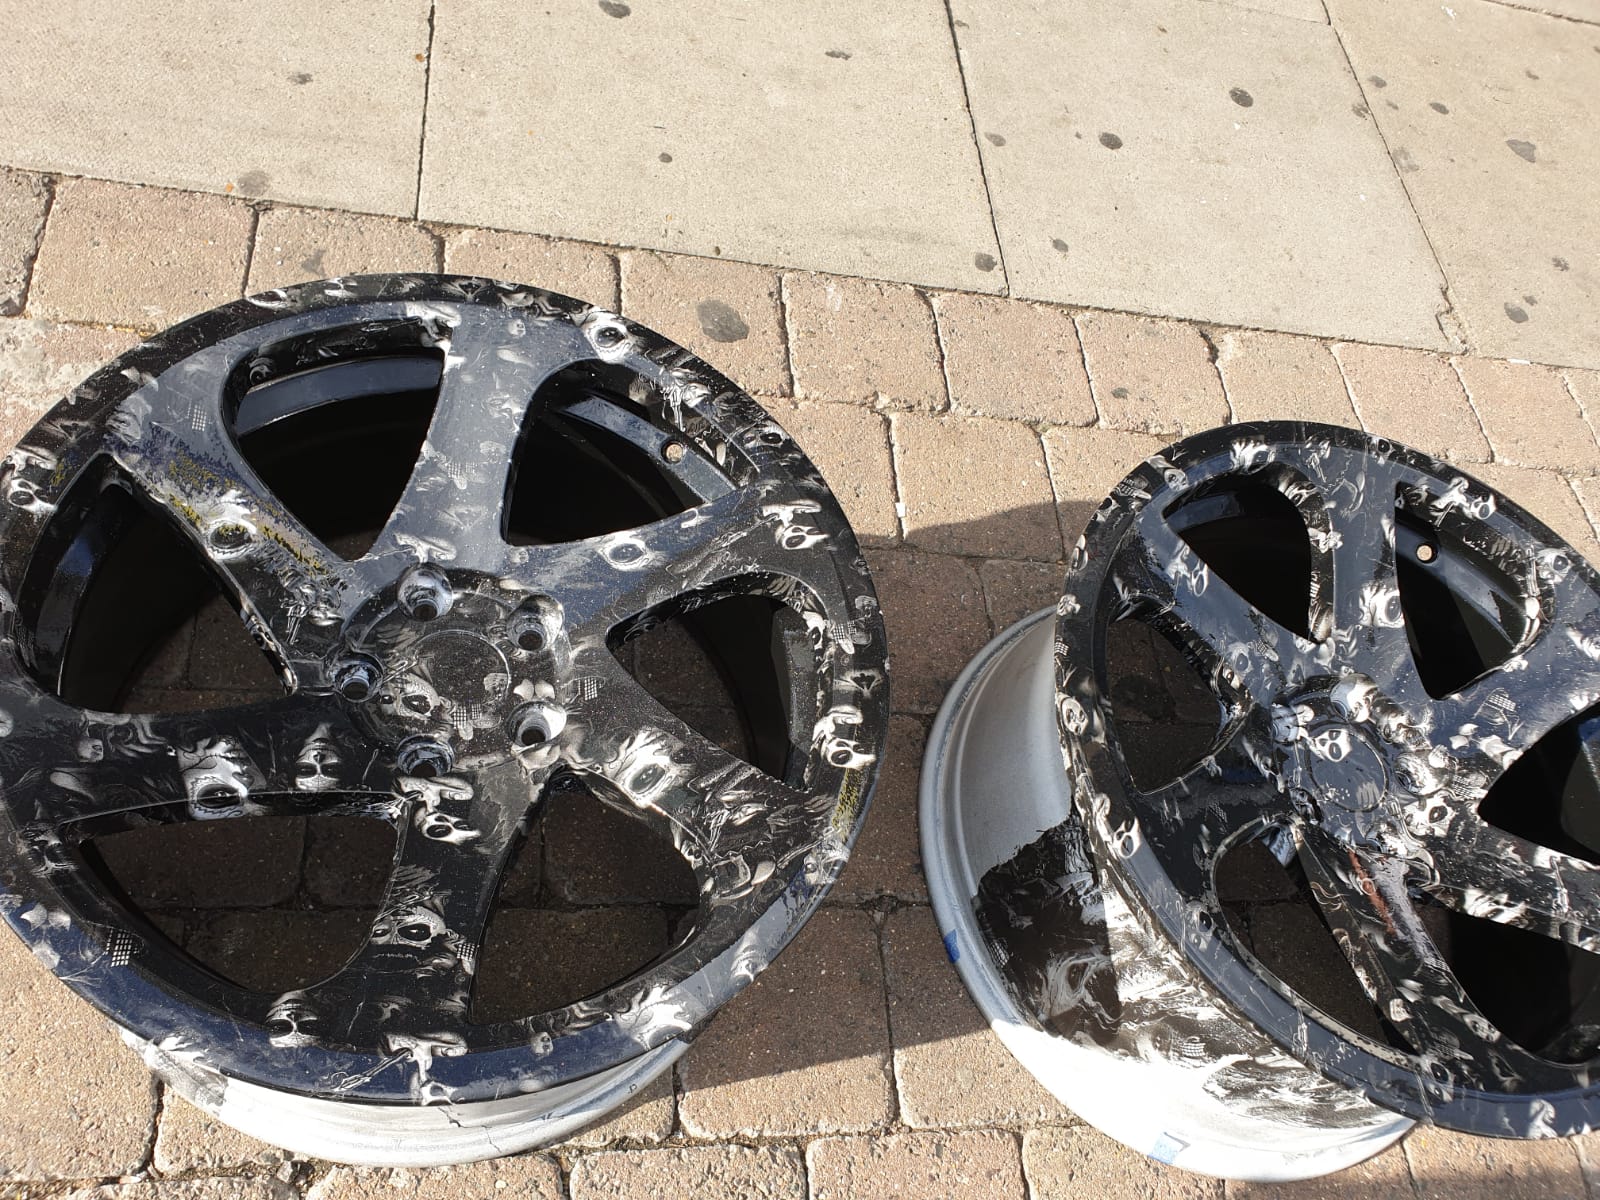
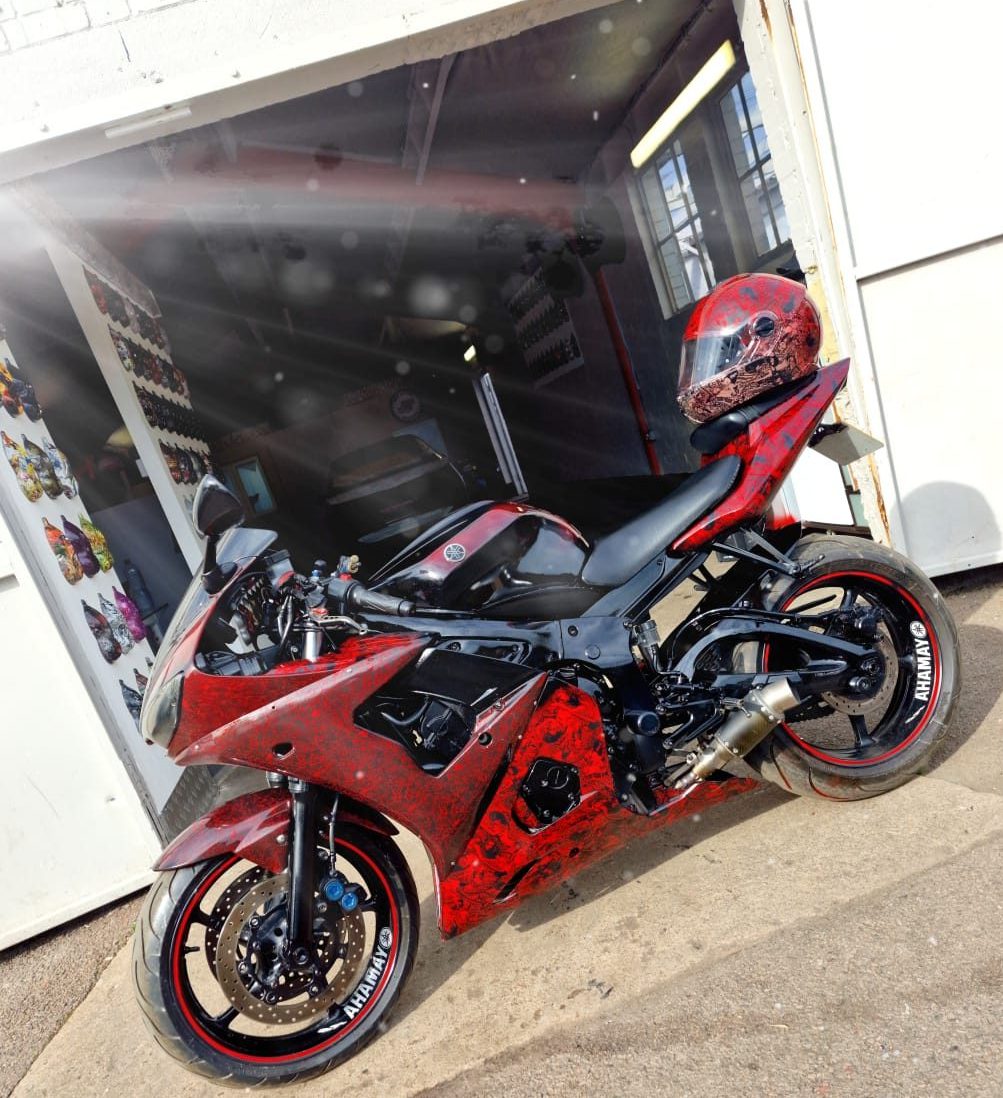
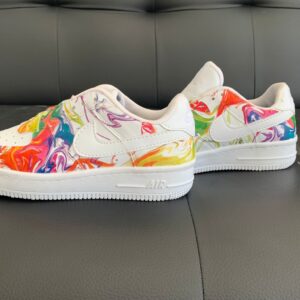
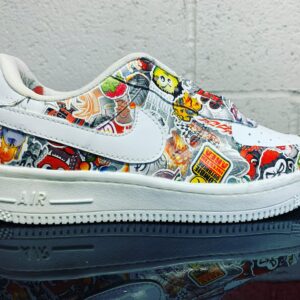
Hydrographic dipping (also known as water transfer printing, hydro dipping, hydro imaging, or camo dipping) is the process of applying a decorative finish to 3D products. Any non-porous surface that can be submerged in water can be decorated. If you can get the paint to adhere to the part than most likely you can decorate it with this process. Examples of such materials are alloys, plastics, glass, hardwoods, fiberglass, ceramics, and metals. Products are decorated using a high-quality pre-printed image, which resides on a thin base of the soluble film.
This printed film is then placed on the surface of the water and sprayed with an activator, causing the base to dissolve. The film is activated causing the image/ink to remain floating on top of the water. Next, the prepared part is immersed in the water, and the upward pressure of the water causes the ink to wrap around and adhere to the item. After the item has been submerged, it is removed from the water, cleaned and then coated with a high-quality powder coat or automotive wet spray clear coat.
So How Does It All Work? Let's Look At The Process...
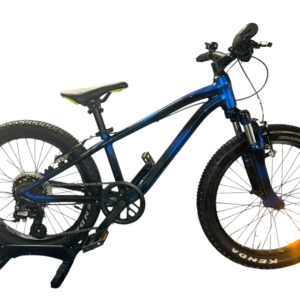
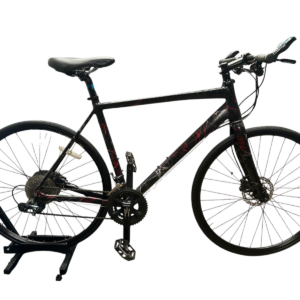
STEP 1: The chosen substrate (this basically just refers to the part to be dipped and can be almost anything such as wood, plastic, fiberglass or metal, etc..) is thoroughly cleaned and prepared to ensure an optimum surface for dipping.
STEP 2: It is then pre-treated and a base layer of colour is applied.
STEP 3: At this point, the chosen film pattern (this can be carbon fiber, wood, stone, animal print, camouflage, etc..) is floated on top of a tank of water and an activator chemical is sprayed onto it. This activator basically dissolves the film into a liquid form which can then bind to the object.
STEP 4: The substrate is now carefully lowered into the tank and through the actual film which has been dissolved into the water. The inky film layer will be drawn towards the substrate and effectively wrap itself around it – bonding to the object and completely covering it.
STEP 5: Finally, a topcoat is applied to protect the new design.
What Does The Customer Need To Do?
We will take care of the entire Hydrographics process but just a few things are needed from you before we begin.
The fun part is choosing which film you would like us to apply!
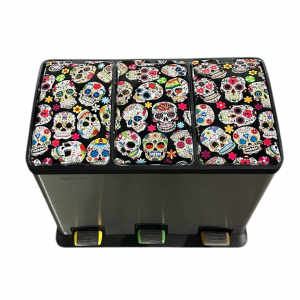
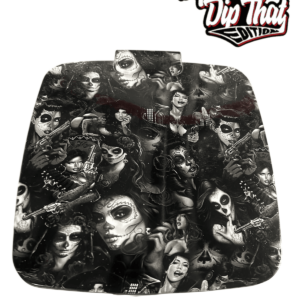
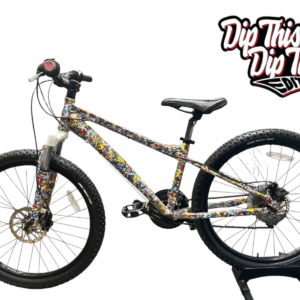
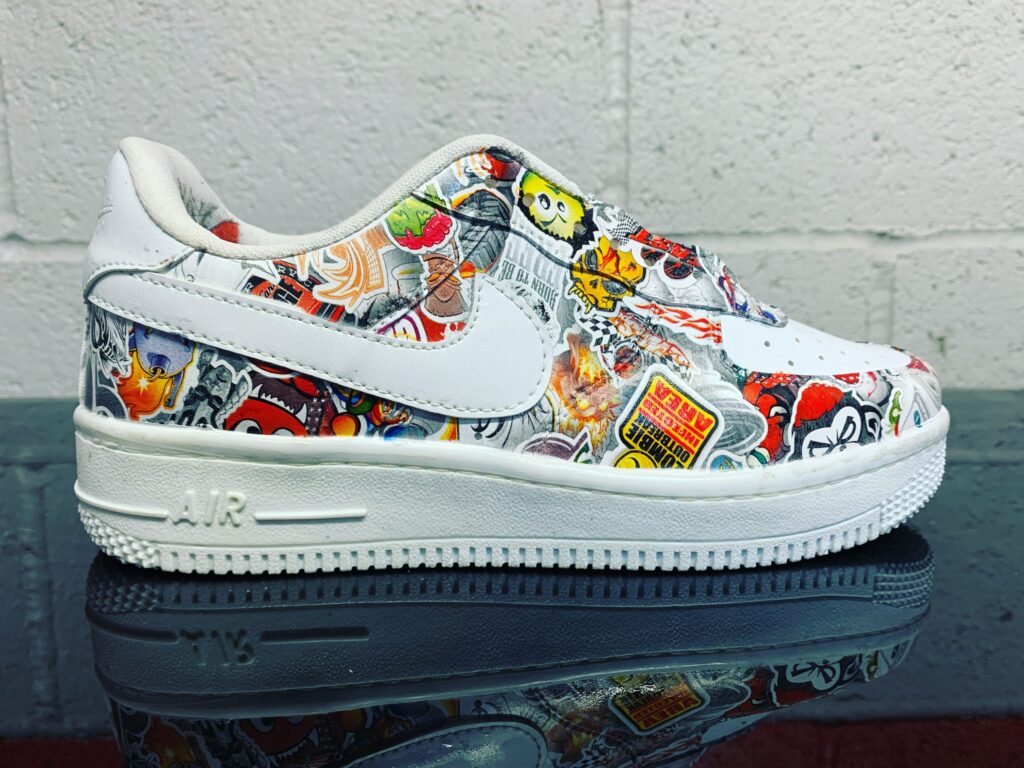
There is literally an endless choice of Hydrographic patterns to choose from but some of our most popular ones include camouflage, stone, wood, carbon fiber, and animal print. Check out our hydro films here.
You will then need to choose your base colour and your finish – this can be gloss, satin or matt. Having dismantled the part(s) that you wish to have dipped it is really important that you give them a good old clean to remove any thick grease or dirt. If time is short, we are happy to do this for you but it will incur an extra cost.
At DipThis DipThat Edition, we are more than just a business. We are a community of like-minded individuals who appreciate creativity and craftsmanship. Join us on our journey to bring art and personalisation into everyday life. Whether you’re a customer or a collaborator, we welcome you to be a part of our family.
We look forward to creating something amazing with you!